Showing posts with label work process. Show all posts

7.25.2014

draw everyday no. 51 : Mr. Penguin and the poppy

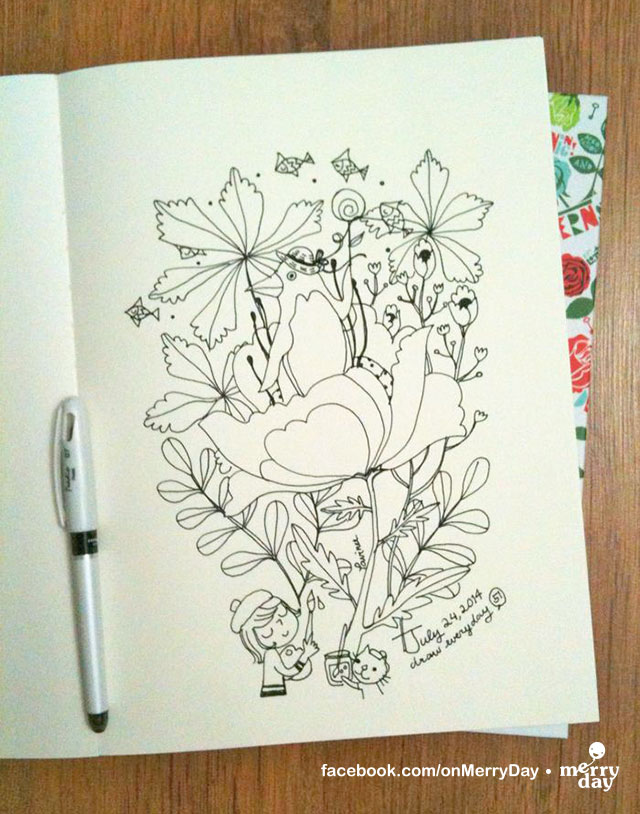
draweveryday-51-line

I just got a new pen and so in love with its smoothness. It's Pentel EnerGel Tradio gel ink. The one I used is black but they also have blue, red and purple ink. The drawing I show here is one of my draw everyday project. I have already got to drawing no. 51. All the drawings are kind of everywhere right now. I will have to put them all in a proper place soon. But you can follow my everyday drawings on instagram or facebook.

The idea for this drawing really came out of nowhere. I love drawing plants and flowers. Then I thought what if I put something totally unrelated in the flower? How about penguin? It must be fun to have him holding a lollipop with fishes flying above ( I got the flying fish idea from a children's book laying beside me at the time).

I have always wanted to draw something whimsical, magical, surreal. Full of details of patterns or background. In the past, my drawings were mostly based on reality but ever since I started my 365 days I draw project and now draw everyday project, I think my drawings have gradually broken into magical realm. I love it. Drawing's getting more fun everyday :D

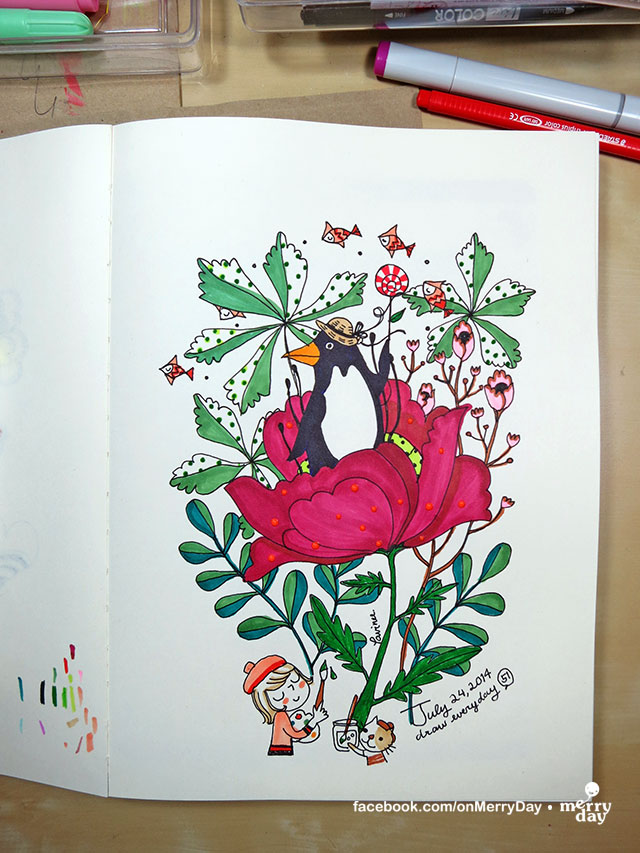
And here is the color version.

draweveryday-51

I have to say white paper seems to be more intimidating than kraft paper. I was a bit nervous when choosing colors. I imagined I would have more bright and colorful colors but then I changed my mind and just wanted to have the penguin and the flower popping up from green surrounding. Love how it turns out. How about you?

I used Copic markers for this drawing :) Going to draw more tonight. I told you I was so in love with the pen! :D


9.25.2013

Behind the Lines and Colors : My Peace illustration, personalized bookplate and notebook

BP-mypeace04

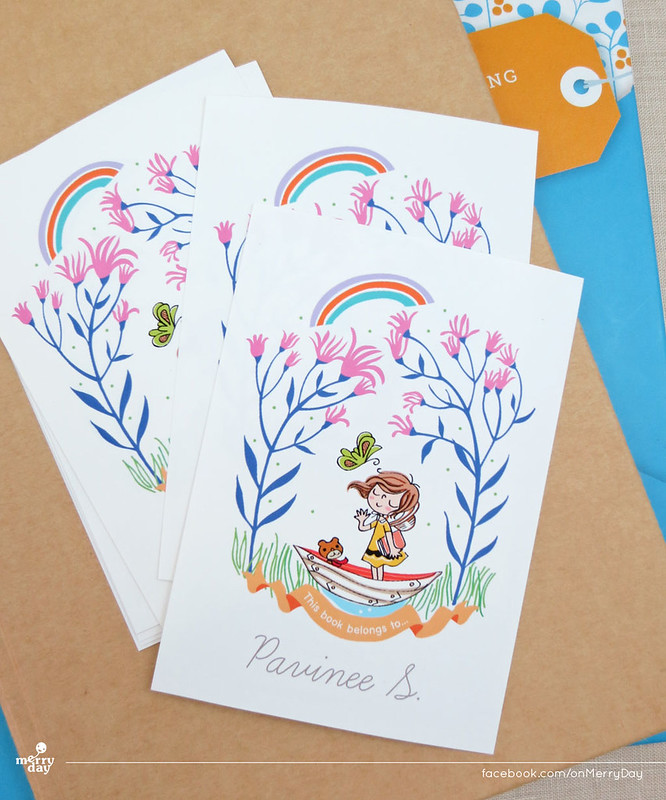
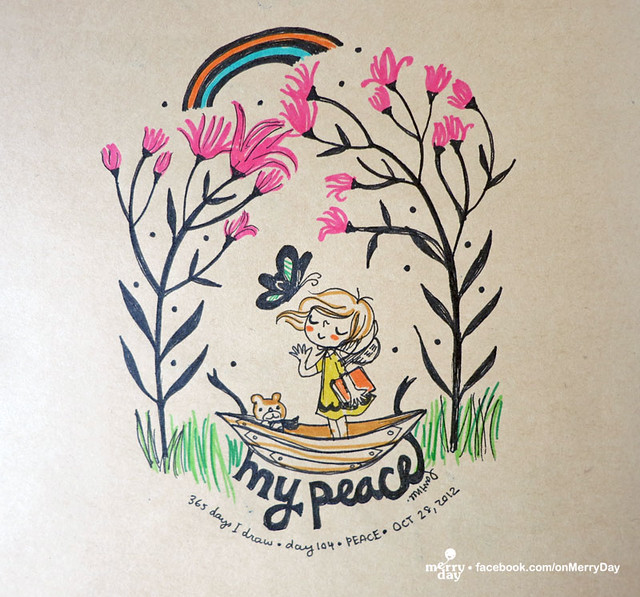
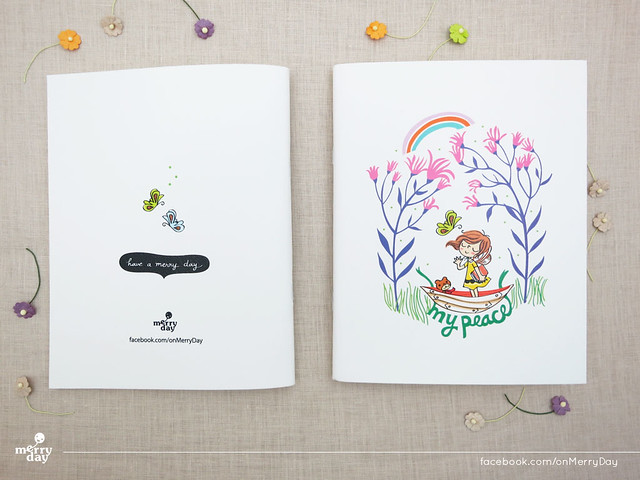
My merry bookplate design with illustration originally from one of my 365 days I draw sketches. The topic is PEACE.

What is peaceful to you? To me, peaceful means when I am at home with book or pencil and sketchbook in hand. When I take evening walks with my mom around my dad's garden and sit down on soft green grass when mom needs to rest. When we listen to the wind and little birds chirping in early mornings. When I do yoga to start the day and when I take my eyes from book I'm reading for a while to listen to quietness of night time.

I have been thinking about pattern in my art, meaning what I mostly have in my pieces. I guess swirly flowers may be that pattern. For this illustration, I drew the flowers first and imagined my little girl spending her time alone (with her little bear) in a tiny rowboat floating in a little pond after the rain. A book in her hand, a greeting from the butterfly and a glimpse of rainbow up in the sky. In her peace, my imaginary peace :)

104-peace-pavinee

When I took this sketch to put it into design, I decided not to add anything more, just change the colors to make overall picture brighter and more refreshing. I had dark green for flower stems first but liked this purplish blue better. I hope you like it too :)

This illustration is for sale on my MerryDay Etsy shop in various kind of product-- a set of personalized bookplates as well as One and Only Limited Edition MerryDay Notebook and also art print to brighten up your place.

NB-mypeace01

I have just realized that having this shop and talking about my work process for each piece on this blog really help me in many ways. It keeps me on my track and when I look back and think of what I thought and did on each artwork, it seems that I see something new. I just hope I can carry it along and apply it to my next pieces :)

Thank you for coming and if you have just happened to be here, you can learn more about me with my post of the history of MerryDay here and other work process posts in Behind the Lines and Colors category :)

9.20.2013

Behind the Lines and Colors : Let me tell you the story of my heart mini card

01-LOVE01-FB

Busy time again, with work and classes. I thought of writing some posts since Monday but when I had time to write, I was just too tired. It's not good to write something when you cannot concentrate, especially in English which is not my native language.

Yesterday I got a message from Coralie, my collaborative art project friend, From Paris to Bangkok. She wondered why I was kind of quiet around here. It suddenly occurred to me that I'm not writing this blog just for myself. One of my facebook followers once told me that she enjoyed following my work process updates. She said that it inspired her to do her own art. I think that is the best compliment :) I guess that is the same with my blog. I get inspired from so many blogs that I follow. Maybe, readers from somewhere out there might be inspired by my posts too? Whether this is true or not, I will keep it in mind and will try to write as regularly as I can :)

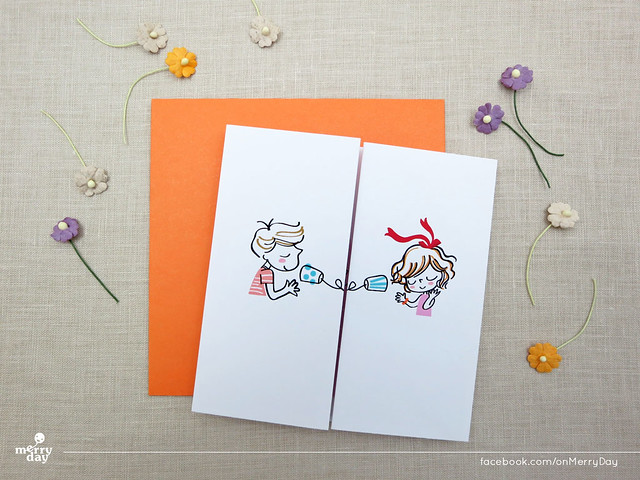
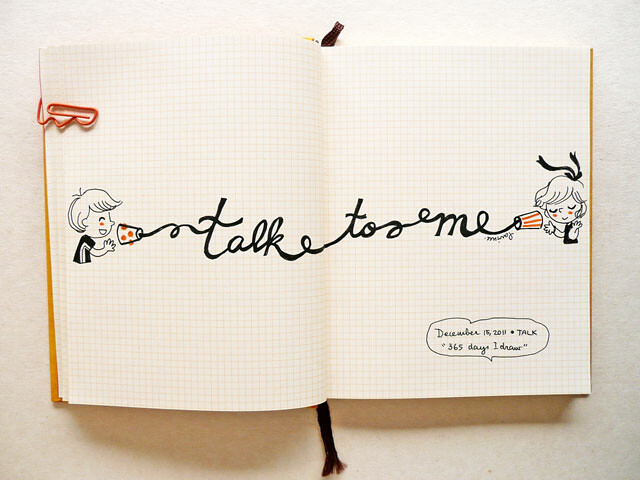
Enough for my rambling, Today's Behind the Lines and Colors is my most favorite MerryDay mini love card, Let Me Tell You the Story of My Heart. Again, I developed this card from one of my 365 days I draw project. The topic is TALK.

09-talk-pavinee

Not sure how I got the idea of tin can phone. Maybe from some children's book I browsed while I thought about this word. I like tin can phone. It represents many things, childhood, connection, friendship, love and relationship. It also says a lot on how we talk in these modern days, how we email, send text messages and chat on Line. I'm not opposed to such technology. They are useful and convenient tools but I'm sure there are times that some of you might miss talking or sending thoughts in your own voice or hand writing :)

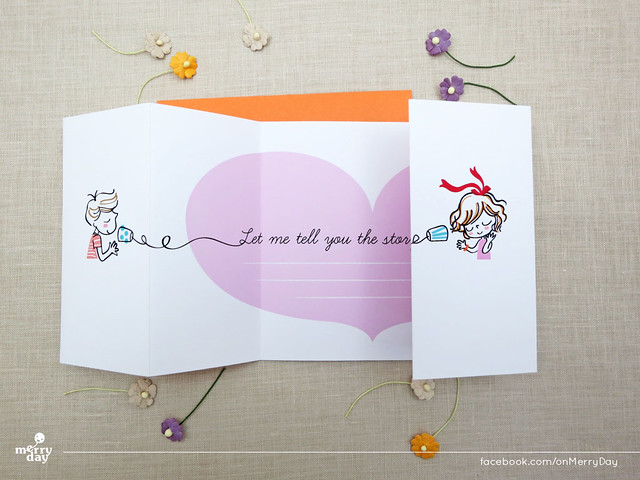
So, when I worked on my Love is... collection, I immediately thought of this drawing. The drawing was already lovely. I really liked how the line connected the two cans spelled out into words. But since Love was the main concept, I should have more beautiful wording for the card. Remember your period of falling in love? You talk long hours with your love even though you are not that naturally talkative just because you want to hear his or her voice? The topics can be as silly as why he or she is attracted to you and you to him(or her). This comes my wording of 'Let me tell you the story of my heart'. I tried to think of something else but the wording was just stuck in my mind :)

Now the drawing is ready, the words are perfect. Next is how I can put the whole image in a card. The problem of this design is the same as of Mr. Giraffe and Merry Girl mini love card. The drawing is horizontal and long. If I put it in standard 6x4 inch card, it would be too small and you couldn't see the details. I had to work with a better paper format. The idea of hidden design came when I thought of the phone line that could be pulled out.

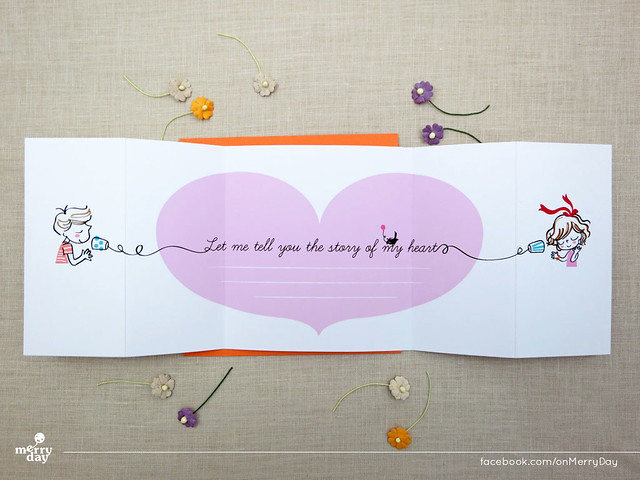
So, I designed the card folding in a way that you see the boy and the girl with cute paper cup phone first (the top picture)

02-LOVE01-FB

Then open it and you will see the hidden big pale pink heart shape inside.

03-LOVE01-FB

Unfold it completely and you have the sweet message of 'Let me tell you the story of my heart' with a lined space for you to fill in your own story :)

I'm really happy with this card design. It went through some thoughts and imagination. Hope you will love it too.  The card is available for sale on my Etsy shop, you can look at the details here :

MerryDay mini love card - Boy Girl Talking Love through Tin Can Phone

If you enjoy reading my behind the scene, you can read more of other design under the category of Behind the Lines and Colors. Coralie and I also have updates for our art project, From Paris to Bangkok. I will post about it soon :) or you can just hop to Coralie's site to see the sneak peek! :D

Thanks for coming. Have a merry day :)

9.04.2013

Behind the Lines and Colors : Will you be my honey bear?

LOVE09-FB

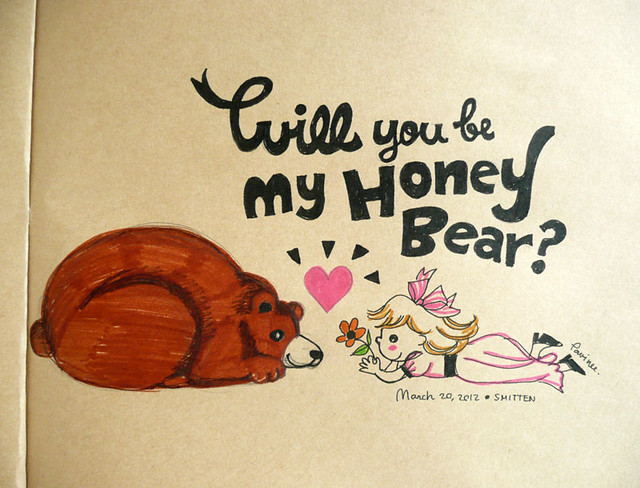
One of MerryDay's card that I love. This design is originally one of my 365 days I draw challenge. The topic is SMITTEN. Not sure what came to my mind first, drawing a bear or the caption 'Will you be my honey bear?"

65-smitten-pavinee

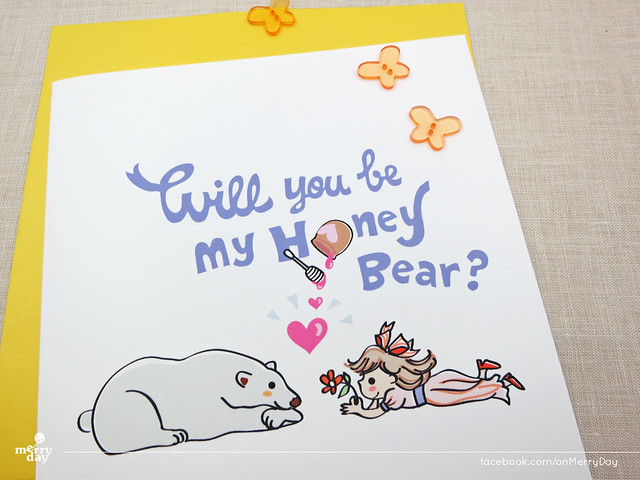
I really struggled with drawing a bear here. As you can see the bear's shape looks so strange. It looks funny and reminds me of some big fat grilled turkey :( The drawing was done with marker and I could not fix it so I just left it as is. I really like the girl loving gesture though and the word 'honey bear' is kind of cute. Then, when I decided to make this drawing into a card, I kept overall idea and fixed two things : redrawing the bear (of course!) and replacing the 'o' in the word 'honey' with a little honey pot to add some dimension :)

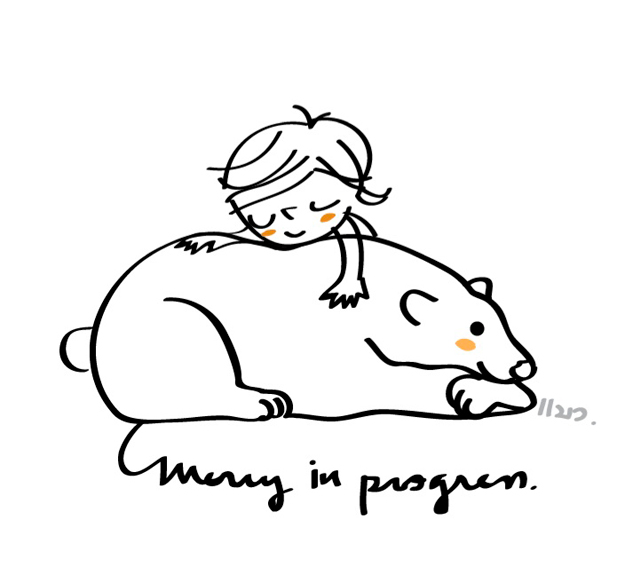
Now, instead of the grilled turkey, I think of Winnie the pooh with his honey pot, the beloved little bear who always makes me smile :) I guess my ultimate goal in this career may be that when people look at my work, they will smile and be happy just like Pooh does to me :)

The card is available for sale on my Etsy shop here :

MerryDay's Will You Be My Honey Bear Love Card

You can read more of my work process for each artwork under the category of Behind the Lines and Colors. If you would like to learn more about MerryDay, I update my MerryDay facebook Page almost daily. The page has reached 2,500 likes today, I think I'm going to do a giveaway soon ;)

bear-wp

8.28.2013

Behind the Lines and Colors : Love is Being Together

LOVE03-FB

Tell me how do you define 'Love'?...

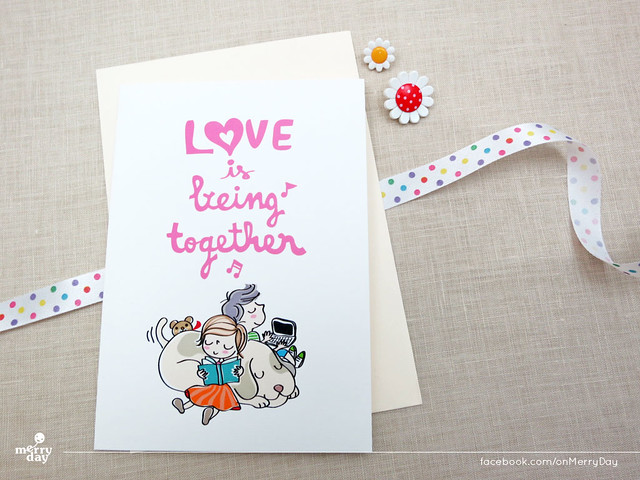
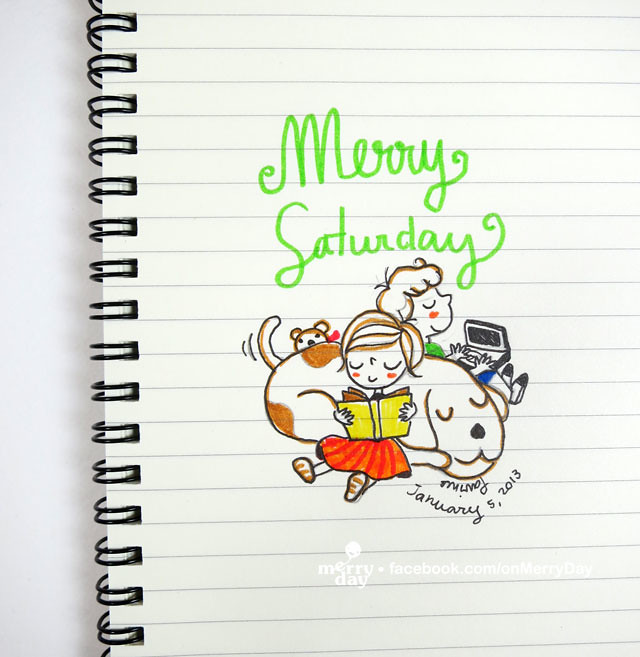
This 'Love is Being Together' card is one of my Love is...collection. The illustration came from a sketching I did one Saturday afternoon. I especially love this piece as it has a bit of my personal story here.

My husband and I went out together for over 9 years before we finally got married last year, a month after our 10th year anniversary. Before I met him I lived my life reading romantic novels in which handsome guy did sweet things to his love. They met, fell in love and got married. Then when I finally found my guy, love was not just that. It's really a matter of accepting each other and maintaining the relationship. It needed some adjustment for both of us and, luckily, it didn't  take us too much effort. I guess that's another aspect of love, to be comfortable enough to be around each other 24 hours.

Then, when we finally got married, I realized even more  that Love is just really being together. It's not about gifts, sweet words or anniversary celebration, it's just being together in Saturday afternoon. Me reading quietly and him browsing the internet beside me. It's really just that :) 

merry day love is being together

I actually drew this sketch without thinking but when I looked at it again, the words came to me. It also makes me smile every time I look at it because the 'being together' doesn't just mean me and my husband. It includes our large dog and my little bear. Both are stuffed dolls :) and they are here :

my big dog and little bear
I know we are grown-ups and having dolls in the house may seem ridiculous for some. But they really are cute little (and large) things called home to me.

That is the behind the story of this card. If you are interested, it's available on my shop here :


I really enjoy talking about my work process and ideas behind my design. If you like reading it too, I plan to write about it weekly. As you might notice, I already have the name of this blog series, 'Behind the Lines and Colors'. You can read my previous posts in the series here:


These card designs are all about love. I'm curious, how do you define your love? Are there any objects or stories that make you connect to the lovely word? Please share :)

Thanks for coming  and have a merry reading!


6.24.2013

MerryDay Goes to School Week 3 assignment : children's book illustration

pavinee_s_snailrosetree_1a_week3.jpg

So we have come to week 3 of Make Art That Sells class already! There are 5 weeks altogether and everybody began to say how much they would miss this class after the school ended and already talked about doing our own weekly assignments after that which I would definitely be in! :D The class weekly schedule (mini exercise on Monday, main assignment on Wednesday and deadline by Sunday) is really effective and it would be a good strategy to succeed whatever we dream of if we can make it into a habit :)

In week 3 we focused on the most anticipating turn-out-to-be-so-tough subject, children's book illustration. I love beautiful books and have been collecting children's picture books for some years already. I actually have a facebook page sharing lovely books I collect. So this topic really excited me.

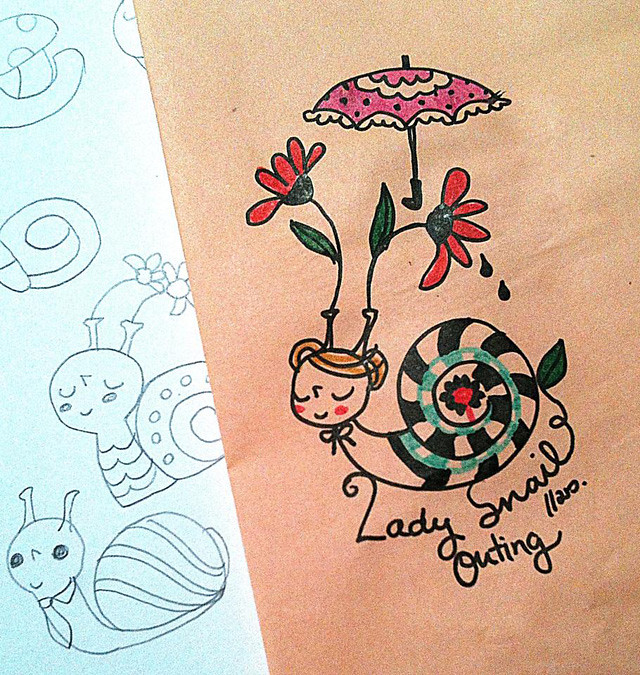
The lesson began with introduction to children's book market. The main focus was on characters realization. A picture book wouldn't be attractive to readers if it lacked charming characters. Here came the mini exercise on Monday. I had expected to have some kind of animal-drawing practice but never thought of drawing snails. It really surprised me (and other students). But snails we drew and a lot!

ladysnailouting

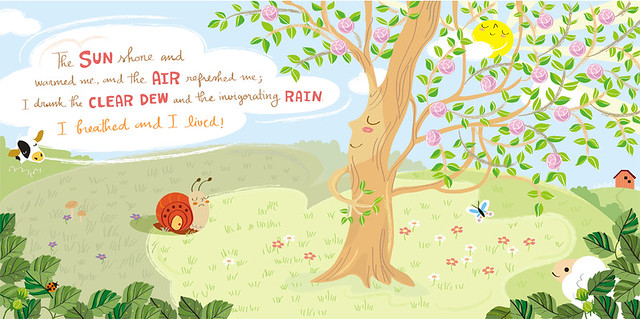
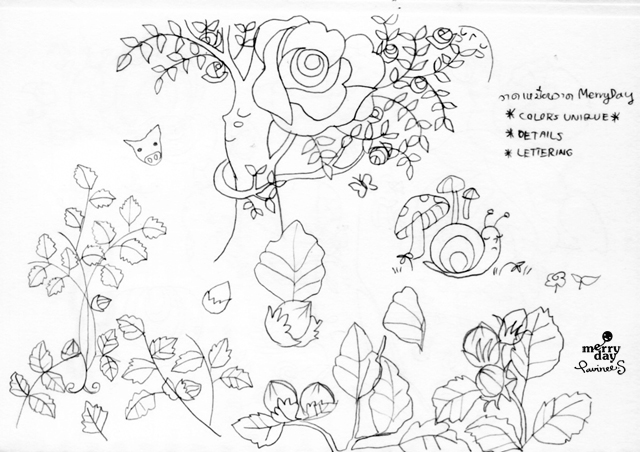
It's interesting that all the snails we drew were in cuteness direction. We actually had a hint of what would be the main assignment with Monday's other mini exercise, to do hand lettering of 'The Snail and the Rose Tree'. Still, I was a bit stunned when I read the story of Hans Christian Andersen's The Snail and the Rose Tree. The main assignment was to design and illustrate a book cover or inside spread of the story.

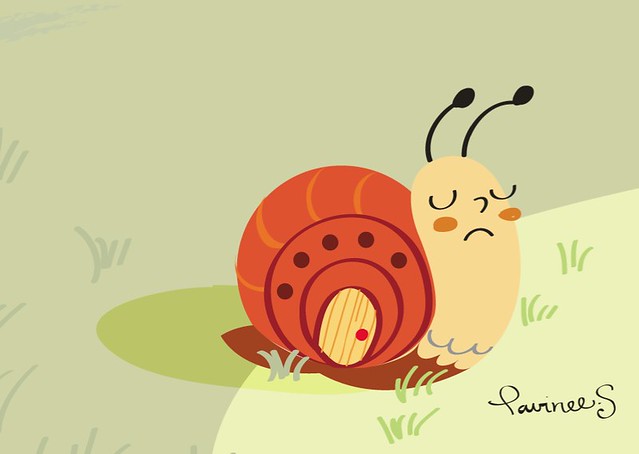
I was stunned as the story was quite gloomy and seemed too philosophical to understand at my first read. It took me a deep breath then rereading to actually grab the sense of the whole story. The whole cuteness of snail was changed into grumpy and moody one. Luckily, we were allowed to do whatever we interpreted. So I focused on the rose tree's happiness instead.

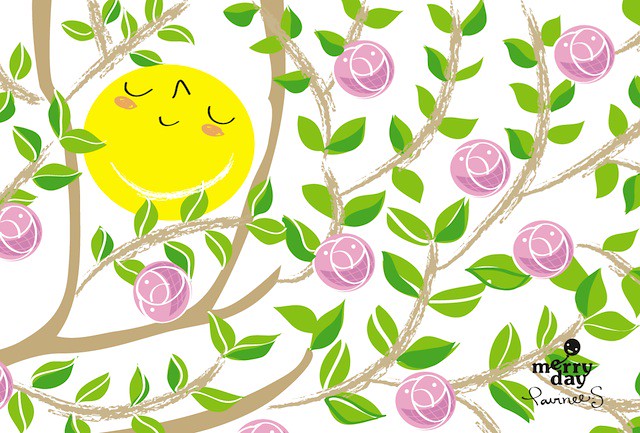
rosesketch

I said this turned out to be so tough as I had never illustrated a complete illustration with settings, characters, background details before. I got stuck with the tree sketch and just didn't know how to go from there. At the time, other students already started sharing their works in progress and they really intimidated me. I spent a night agitated with my single sketch but luckily I woke up the next morning with fresh energy and was able to continue on my own work :D

I remember once I talked with my friend who had already been a children's book illustrator that I would want to practice drawing more of background details. So I took this opportunity to draw as much as details as I could. Click on the first image above to see the details on flickr.

This assignment is very challenging for me as although I did a lot of book covers, I never did inside spread of children's book before. It's very hard to tell the story and draw little details. I think you can tell how proud I am when I can finally complete it :)

maewsnail

What I have learned from this week's assignment :

• Don't compare your work with other's. This is a general rule in artists' lives. We know we shouldn't but sometimes we just can't help ourselves comparing. Just admit to yourself that it's natural and go on with your work.

• Be persistent. I thought the tree sketch would never work but deep in my mind I felt that it could. So I persisted. I realized after that that it's just a matter of adding and tweaking things around. You just have to have some endurance working extra hours :)

WIP-sunzoom

I think my moody snail and the overall spread could have been developed more if I had more time. But for now, it's good enough and I'm really happy about it :)

That's the end of my week 3. This week, week 4, is about Wall Art. We get to do abstract art which I have never done before. Excited already! :D

Thank you for coming. I hope my class progress could inspire you in some ways. Have a merry day :)

6.18.2013

MerryDay Goes to School : Week 2 assignment homedecor plate design

pavinee_s_secretgarden_1a_week2.jpg
I intended to post my initial sketches for Make Art That Sells class' week 2 assignment first then write another full post for the final artwork. But I just got so involved with all the process that I decided to give it all my energy and blog about it later, which is now :).

I think I could say that last week's exercise is something like an eye opener to me. I did a lot of things I never pushed myself to do in the past. It's a lot of hard work and I felt so exhausted but relieved when I finally finished it.

In week 2 we learned about home decor. Lilla showed us lots of beautiful products and talked about why they were successful in the market. There were many items I never saw before and the idea of my artwork might have a chance to be produced just like those lovely items really excited me. I know though that that possibility depends on various factors, which some I cannot control like timing, competition, people's taste, the market etc. But I do believe in what Lilla always says in the class that you have to work hard, draw, draw and draw, keep improving your skill. I know from my past experience that it's the only thing that works.

For week 2 homework, we had to do plate design for home decor. We started with mini exercise of flower sketching. A simple and general subject we tend to draw first when have a pencil in our hands. This time we really looked into details and studied tiny lines, shapes and colors. I did several pages in pencil. This is one of them.
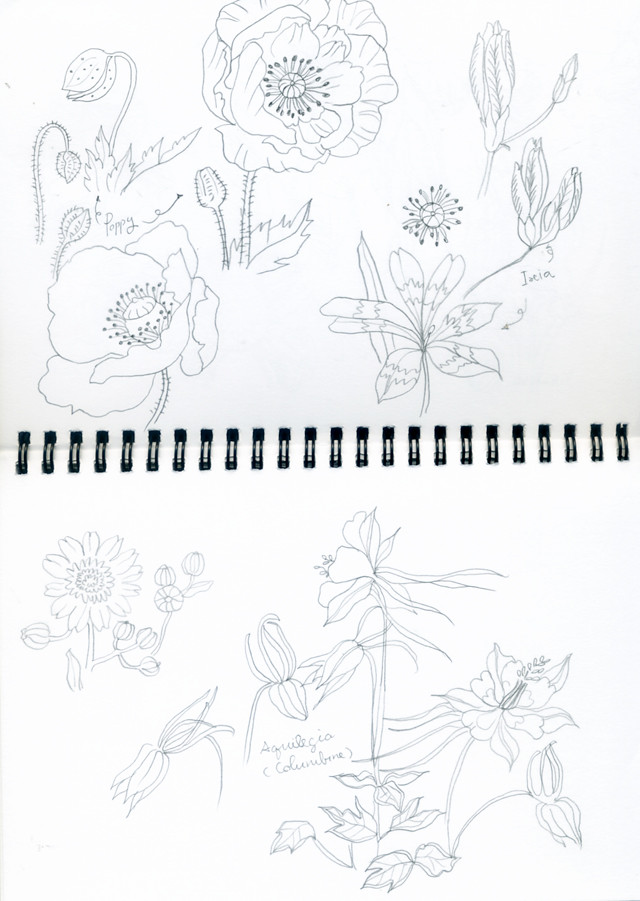
flowers pencil sketches

Then to follow Lilla's instruction of using different medium and go beyond our comfort zone, I tried  to push myself doing sketches in wet paint like acrylic here.
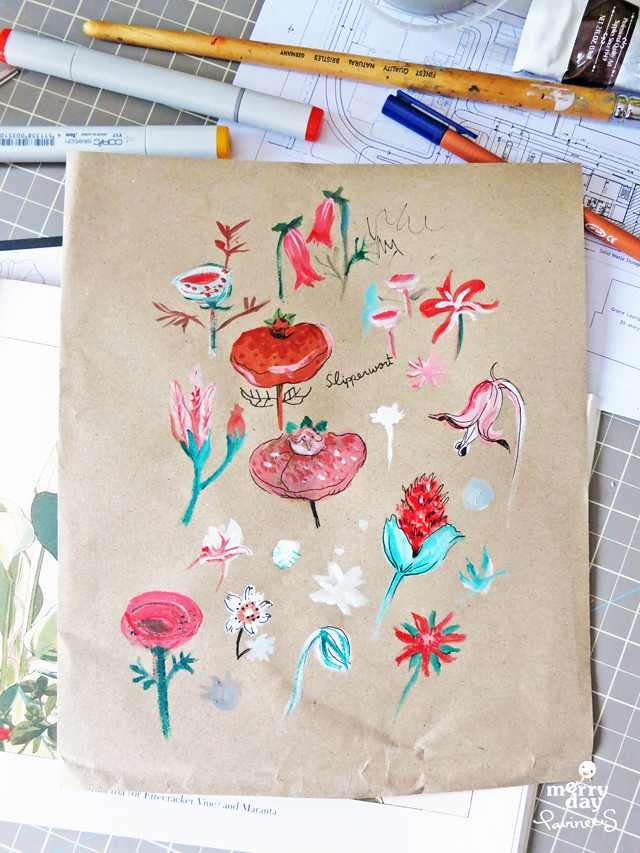
homework sketch with acrylic

I was not really comfortable with this paint at first. It was so hard for me to mix colors and have different shades other than the ones that already in the tubes. That's why you can see only red blue green here. I posted this photo in the class' facebook group and got a lot of encouragement to keep trying. So I did. This time I added water color paint.
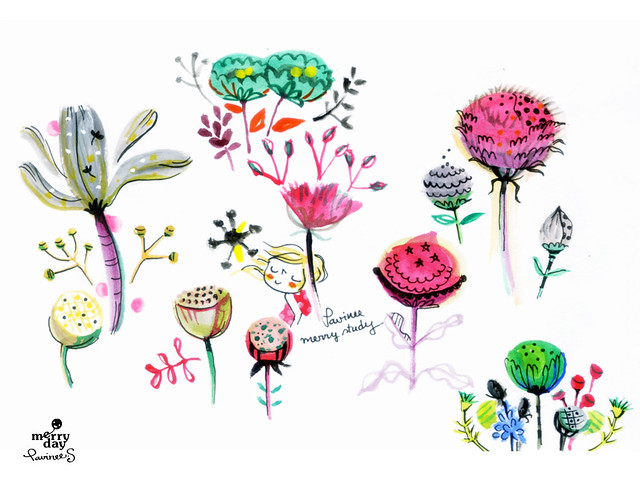
homework sketch
I had no idea about painting techniques and decided not to care about that and just went with the flow. With computer turned off, no internet connection, no facebook, I really focused on my sketches and became more at ease and actually enjoyed my sketching :D
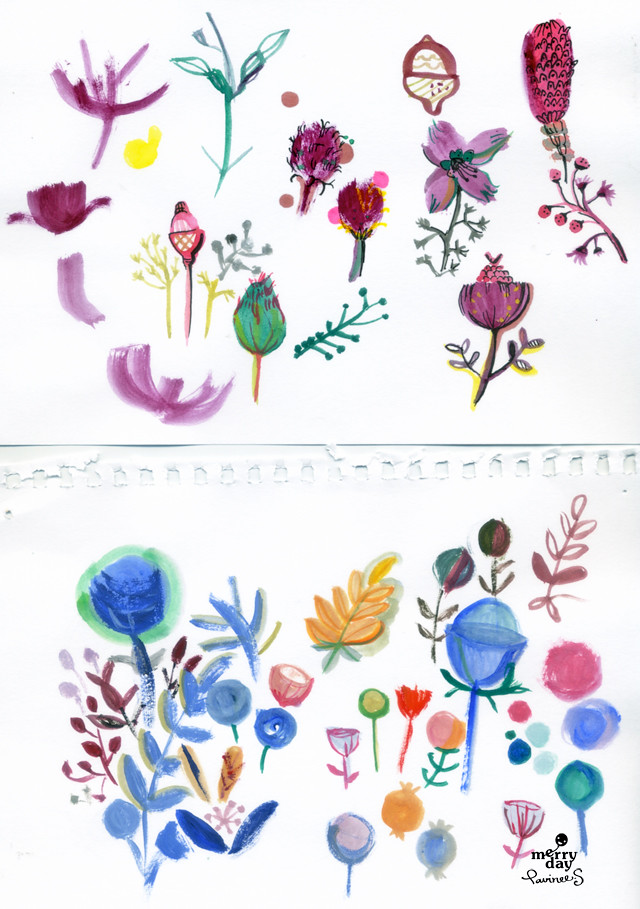
homework sketch

I did pages of water color and some of Copic markers. What attracted me most was the blue plant group in picture above (the left side). I really liked its colors and shapes and started to visualize in my head what my plate would look like.
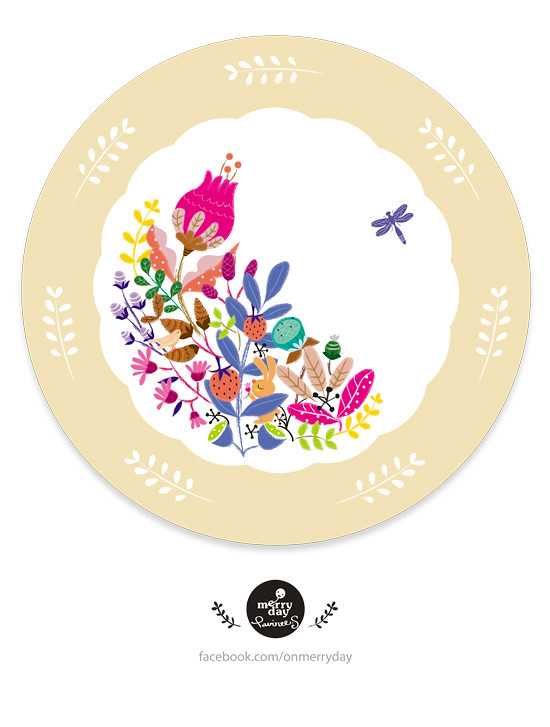
Secret garden plate deign development
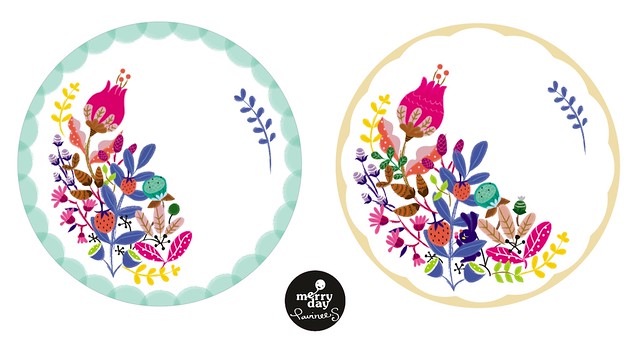
Since I'm not so good at painting traditional medium, I went back to my comfort zone, digital drawing. I drew in Illustrator but made it different than usual by adding some effects to make it look like hand drawn and painted. In picture above, the left design is my first version (you can look at the details by clicking at the photo). You can see that each flower (and plant) stays so close to each other and the group looks uncomfortable sitting on left side of the plate. So I spread them out, gave each flower some air and worked with different border. The idea was to make it lighter and more airy.
secret garden plate design detail

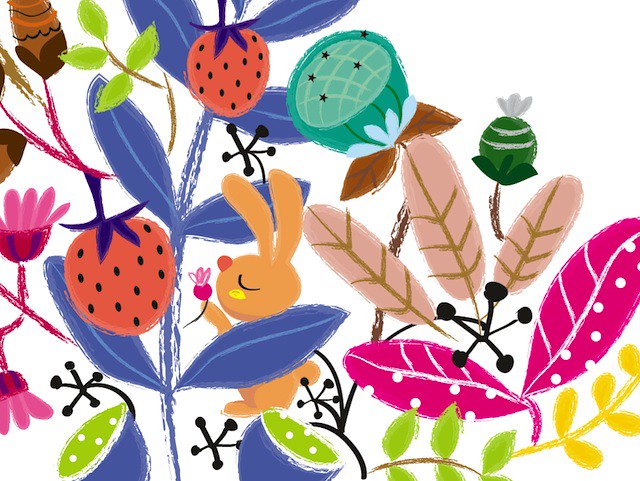
Then I added some story with my little bunny admiring flower. I really loved the blue plant and it took some time to adjust the bunny's color to go with the blue. The bunny was supposed to be a bit sneaky while not too lost in the crowd of flowers, a very difficult part.

secret garden plate design detail

Final adding,  the bird and the dragonfly and a bit of decorating on border (See the first image).

secret garden plate design detail

The final artwork is not really what I expect at first. I thought I would do something in more graphic style and maybe more modern? The overall look of this final design is more traditional to me, with everything in border. No quirky elements as I wanted to do. But I love it anyway. I feel it has gone through a lot of well-thought steps that I pushed myself to do. I would have gone with the first cluttered design with no bunny, bird and dragonfly as I began to get tired after long hours of drawing. But the facebook group really pushed me forward. The students there were so full of energy and did a lot of wonderful designs. I looked at my work and thought that it could be improved more so I added more hours of working and it turned out to be what I'm so proud of here :)

What I have learned from this class so far :

• Hand drawn and painted in sketching is a very important step.  You will get a better sense of lines and colors than doing it digitally.

• Work on details a lot. tiny lines and shapes really add charm on final artwork :)

• Try to add some story, animals, settings, moods etc. Think about it as picture book.

• Don't give up just because you are tired. If still have time, take some rest, do something else, come back with fresh eyes, new ideas may come :)

That's it! Week 2 has ended and I'm starting week 3 now with the topic of children's book. Most exciting! :D

Thanks for coming. It's a long post but I hope you enjoy my process and have a merry day!

3.19.2013

Behind the Lines and Colors : how my little girl and Mr. Bunny came into a greeting card

LOVE10-2

One of my Love is... card design collection, Merry Girl and Mr. Bunny are preparing paper hearts to spread the love from the sky :)

My very first idea was that I wanted to draw a big bunny playing something with my Merry girl. Then I thought of this sketch below which I drew during work ( I have an album called Playtime dedicated to a few minute doodles during work. it's almost like my sanctuary. If you are on facebook, you can look at my drawings here.)
playplay-merryday
When in need of drawing but have no idea what to draw yet, I usually warm up with my merry girl's smiley face. Next, I would think of an activity for her to do, reading, running or eating? And should she have some friends with her? etc. I try to train myself to make a story during drawing and it's really fun when some lovely ideas come up along the way.

For this drawing, I combined Mr. Bunny with the above doodle. The paper shapes she cut were changed to paper hearts so that it looks like she and Mr. Bunny are spreading love. And when you want to spread love as much as possible, the best location should be up on the sky. So, I put them on the lovely, fluffy light blue cloud :)

Screen-shot-2013-01-18-at-10.43

The final part was thinking up a nice caption to go with the drawing. I simply use 'spread the love' and I truly believe that when you spread your love, 'you'll get it back' :)

This card will be for sale on my etsy shop, which I'm sorry to say that I'm still in the process of redesigning the whole thing. I know I keep repeating this for some time already. A bit guilty for my slowness. Right now, I am in the process of reshooting every shop items. Taking photos is the most difficult and crucial  part in having an online shop. I'm not a good photographer but I'm doing my very best.

ps. Maureen from Daydream Living asked me in the previous post if my character has a name. I think it's really good idea to name my girl. So far I call my character my Merry girl and people who are following me on facebook page seem to remember me by that calling. I wonder if I should stick with Merry Girl or should I find other lovely name? What do you think? :)


Related Posts Plugin for WordPress, Blogger...