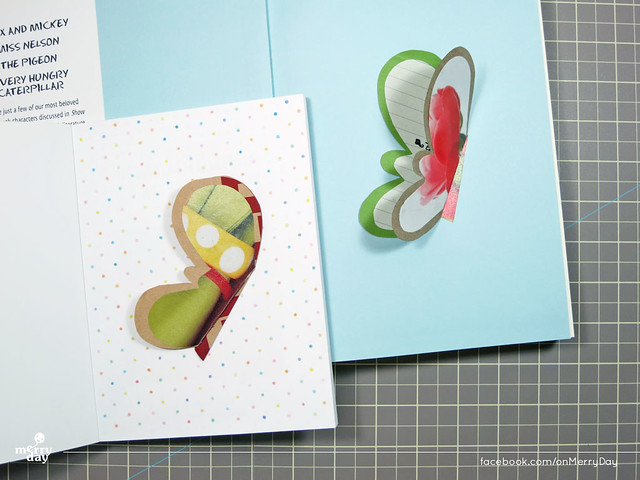
I have been thinking about doing DIY project on blog for some time but never pushed myself hard enough to do it. A chance came when one of my facebook fellows who was doing part-time MC for a TV show about book and reading asked me if I could provide ideas for the show's DIY section. The artist who did this job regularly happened to be unavailable for two weeks. The show is on air weekly and she needed to have two ideas for the section. I was a bit nervous but it seemed so challenging. Sometimes when opportunity knocks, be ready and open your door (even if you don't feel you are ready at all)
The main concept of this DIY section is to create something that promotes reading activity. I was doing bookplates for sale on my shop at the time and thought it might be a good idea for the show.
Generally, bookplates are sheets of paper printed with beautiful illustration. But since the idea of DIY is to make things that can be made by hand easily, I thought we could play with shapes instead of illustrating.
My idea is this easy one, butterfly bookplate. Let's make one fly :)
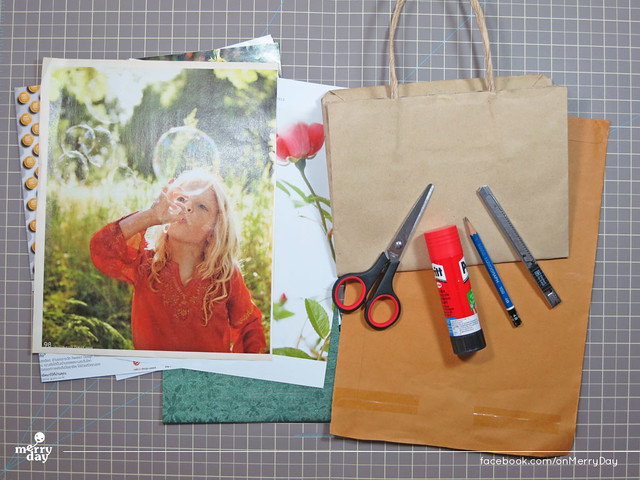
I have been also thinking that if I do DIY project, I will reuse things that can be found at home as much as possible. So, for this project I just use paper from shopping bag, pretty and colorful photos from old magazine, pencil, scissors and glue.
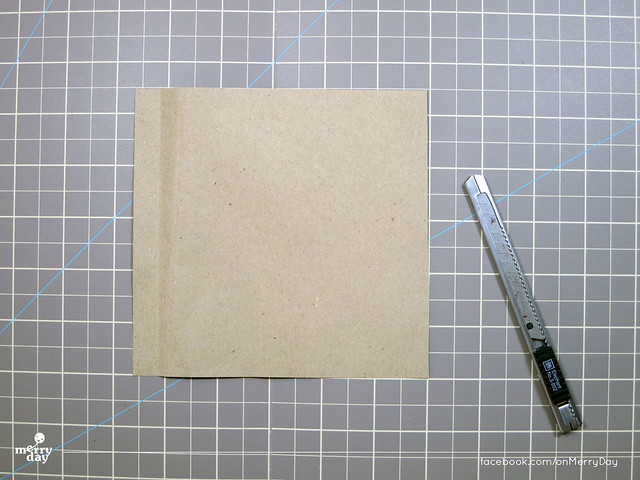
First, cut a square sheet from a paper bag. Use the brown side.
The size depends on how big your book is.

Fold the paper in half then draw a wing of butterfly.
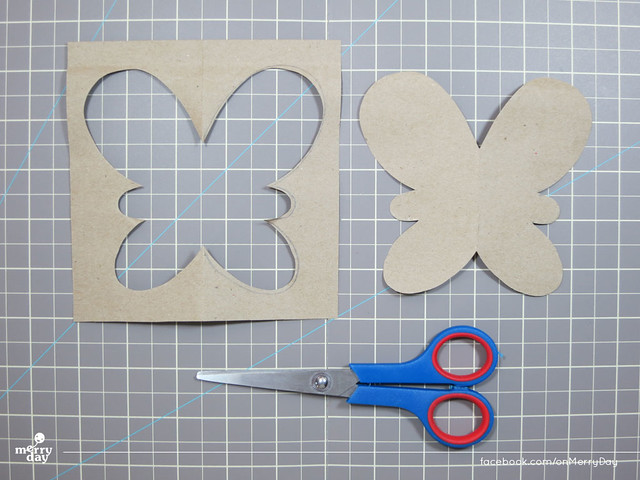
Cut the butterfly out. Unfold it. Now you have the first butterfly with symmetrical wings

Next, we're going to make design on its wings. Find a photos or pretty page from old magazine. Try putting the cut-out butterfly over the page in different positions to see which part will be best for cutting out.
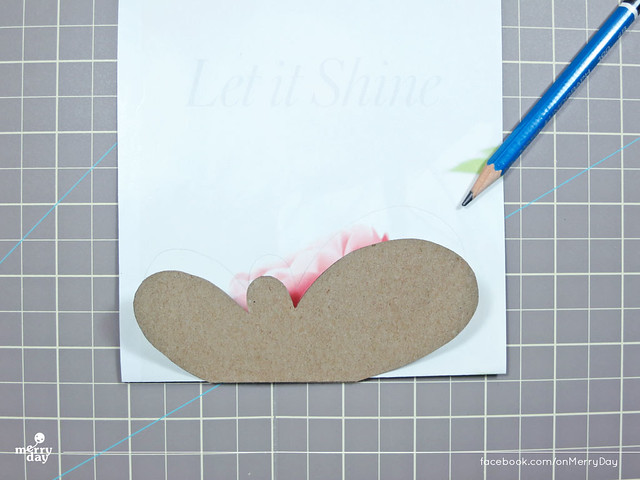
Again fold down the magazine paper and use the first butterfly as a template. Trace the outline with a pencil.

This time we cut the second butterfly. Don't cut along the line exactly. Just use the pencil outline as a guide and cut smaller one. Now we have two butterflies.

Next we're going to make a third and final one. The paper for this part should be in pale color so that what we write on it will be easily read. In this, I use a sheet from a notebook.
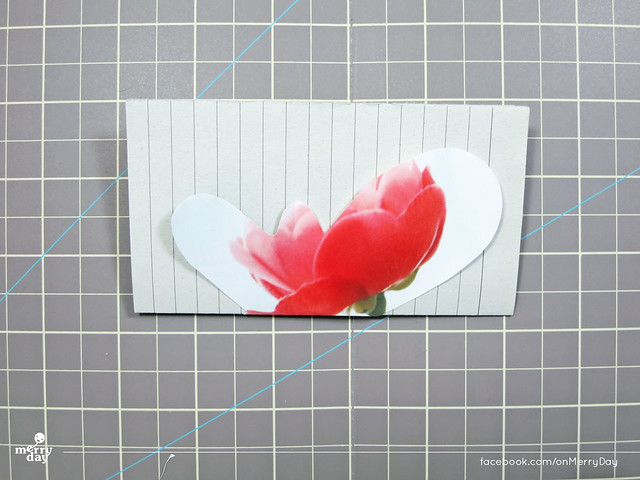
Again fold down the paper and use the second butterfly as a template. Trace the outline with a pencil. Then cut it out. This time you can cut exactly along the outline. Then we will have two butterflies in the same size.
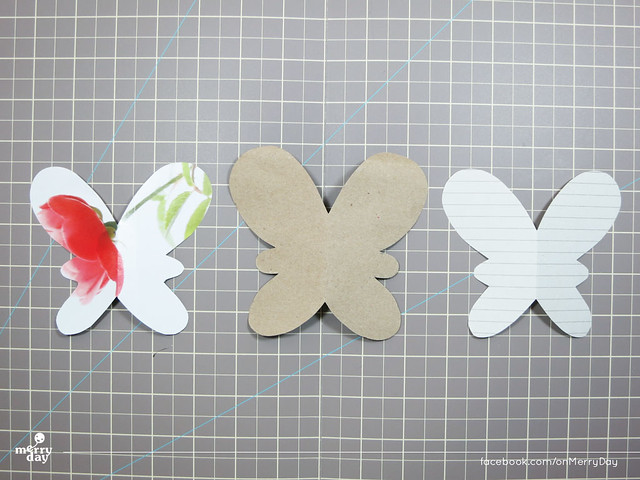
All the three butterflies are ready to be assembled next.
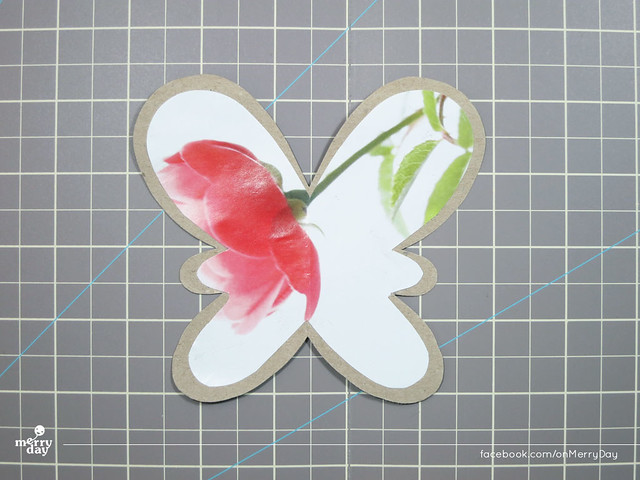
Glue down the outside part.
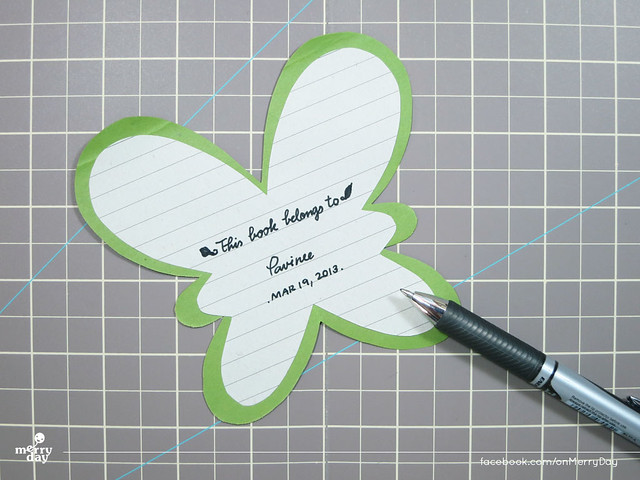
Then the other one inside. This side will be the part for writing "This book belongs to" and then put your name on. If you plan to make this as a gift, leave it blank here.
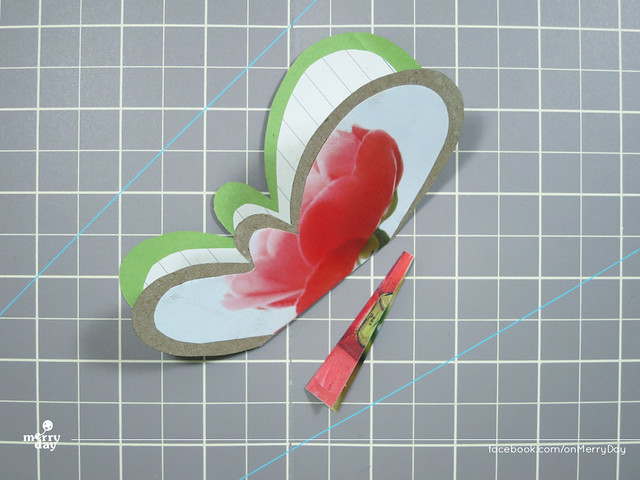
One very last step, cut a small piece of colorful paper fold down and make the butterfly's body!
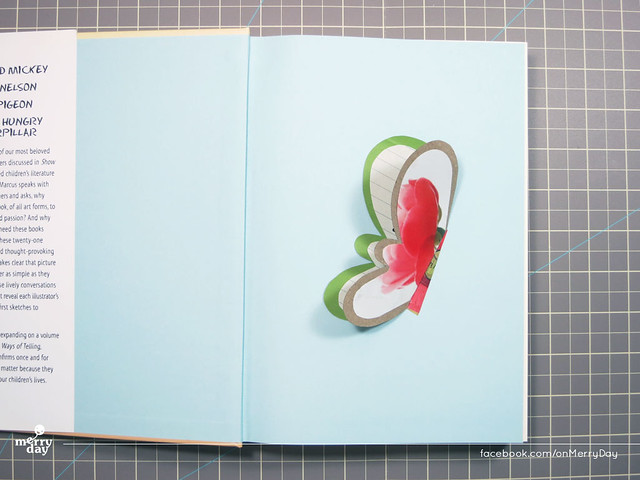
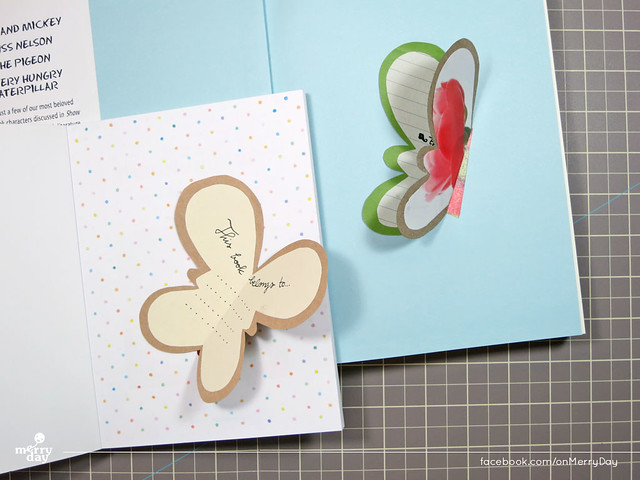
Now we have our own handmade butterfly bookplate.When you stick it on the page, place the butterfly in slightly-slanting position so that it looks like it's flying :)
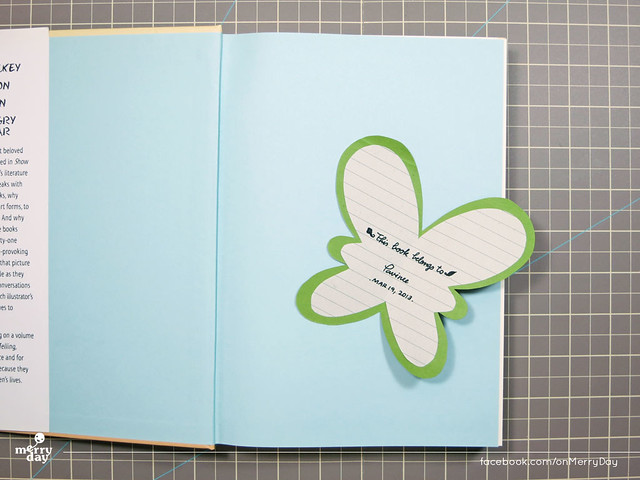
Try opening it. How do you like it?
This is actually the way of making pop-up card adapted to be used as bookplate. I think it will be very touching to put your own little craft in books you will give to your loved ones. They will cherish it, I'm sure :)
I have another fun and cute ideas of making this kind of paper art. Will share them later :)
Thanks for stopping by. I hope you enjoy my very first DIY :)

it's cute! it's so easy anyone can make this. also, I like that you use recycle material.
ReplyDeletehave a sweet day.
Thanks for coming! have a sweet day to you too :D
DeleteGreat post! You laid it out so clearly! Keep it up!! I love it!! : )
ReplyDeleteThanks! Yes! I will try to keep it up. I have some new ideas already :D
DeleteThat is great, I loved the idea, i will try this as soon as.
ReplyDeleteThanks for sharing...